- number
- nesting level of the step, can be 1 or 2
The step.ordered.command() annotation is used to make a paragraph into a step. The nesting level can be 1 or 2, as DITA supports two levels of steps. The second level of step annotation is called a substep. Any further levels of nesting are treated as numbered lists.
Migrate will use the assigned DITA schema to determine what DITA output will be generated. It will create a command in an ordered step, if that is allowed. If there is a step open already at the same nesting level, Migrate will create the next step in the list and create a command inside that.
If there is a step open at a higher nesting level, it will open a command in an ordered step nested inside that step, so long as this does not exceed two levels of nesting. If there are already two levels of step open, Migrate will create an ordered list nested inside the second level of step.
If there is a step open at a lower level of nesting, Migrate will close the command in that step and will close the step itself; Migrate will then create a new step at the outer level of nesting and will create a command inside that new step.
If neither a step nor a substep are allowed, Migrate will create a numbered list.
If you are using the annotation p.title.unknown-topic() for your topic titles and you use this annotation in a topic body, this gives Migrate a strong indication of which topic type to create. Please see the topic title annotations for more on the p.title.unknown-topic() annotation.
If you are using DITA 1.3, steps may also appear in a troubleshooting topic in the remedy section of the troubleSolution section. Annotate the steps as usual, and Migrate will open the remedy section. Please see p.cause for more information.
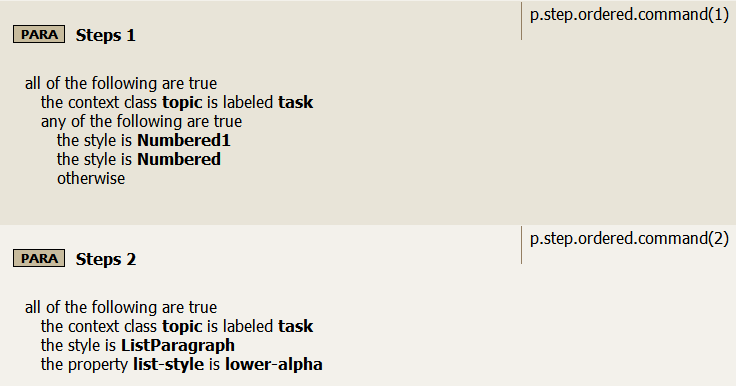
This image shows you how to set both level 1 and level 2 step rules.
You will get output similar to the following as a result of these rules.